Fermenting Experiments
It has been a while since my last post. Not because there was nothing to write about, but simply because life was full of other things: applying for jobs, sightseeing in Paris, gardening, working on our community farm (with our new greenhouse to come!), cleaning up the pond, and many other little projects.
But now, back to the farm. The harvest in recent weeks has been as generous as ever. Alongside the familiar staples of potatoes, onions, and tomatoes, we’ve been spoiled with green beans, butter beans, cut beans, leek, and sweet corn. That means lots of cooking has been happening in our kitchen—and since the supply is so abundant, preserving becomes a must.
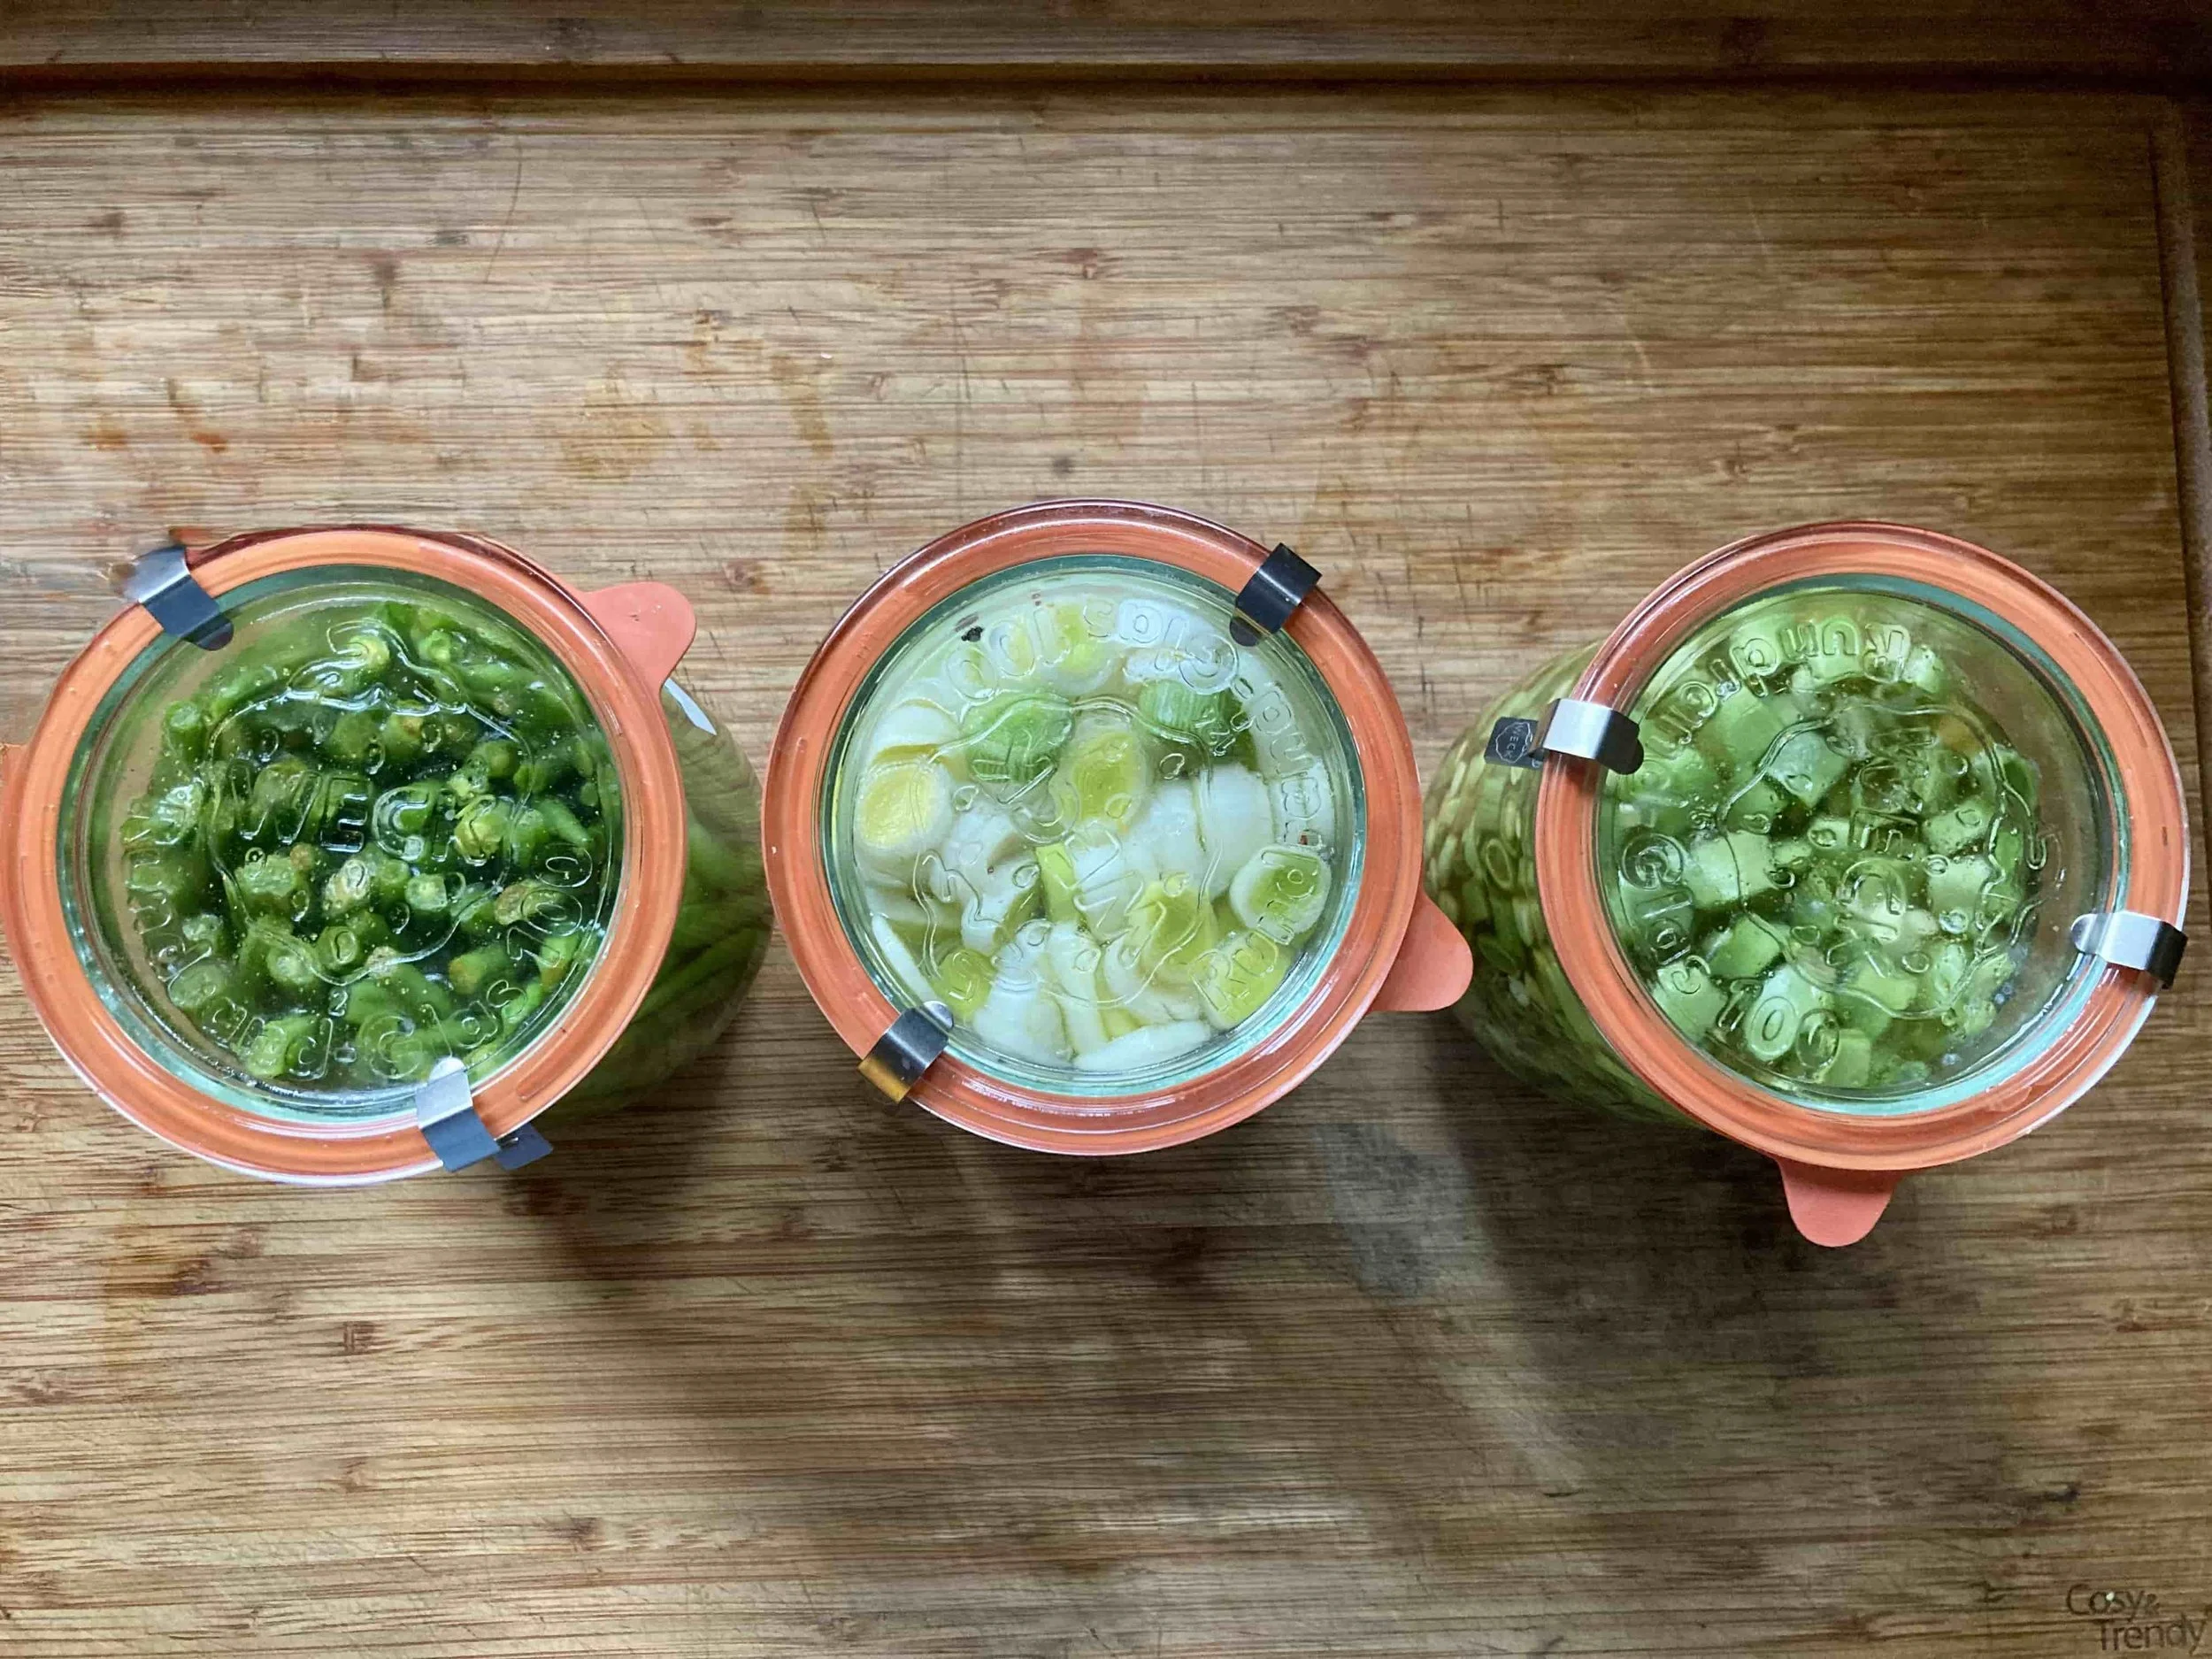
This time I decided to experiment with fermentation, trying it out on green beans, cut beans, and leek. Here’s how I did it:
1. Fermented Green Beans
Trim both ends of the beans and collect beans of similar size.
Take a Weck jar (with rubber ring). Add 15–20 grams of salt.
Stand the beans upright in the jar.
Add herbs to your liking—I used paprika powder for a slightly spicy kick.
Fill the jar with water until the beans are fully submerged (leave ±3 cm below the rim).
Close the jar with the ring and lid, then shake gently so the salt spreads.
Leave at room temperature for a few days, opening the jar occasionally to release pressure.
Taste after a while—it should develop a tangy sourness. Once it’s to your liking, move it to a cooler place to slow down fermentation.
Can be stored for 6–9 months.
2. Fermented Leek
Clean the leek thoroughly, making sure there’s no sand left.
Trim off the roots and the darkest green part. Slice the rest into rings.
Add salt, garlic, and peppercorns to a Weck jar.
Fill the jar with leek rings, leaving about 3 cm space at the top.
Cover with water, close the jar, and follow the same process as for the beans.
3. Fermented Cut Beans
Same preparation as green beans and leek.
This time I added curry powder for extra spice.
Final thoughts
Fermentation is such a satisfying way to make sure our fresh farm produce lasts longer while transforming the flavors into something new and exciting. I’ll let you know in a few weeks how these experiments turn out—but I can already tell the kitchen smells promising!
Why fermentation is good for you
Besides being a clever way to preserve food, fermentation has real health benefits. The process creates natural probiotics, which are great for your gut and digestion. It also increases the bioavailability of vitamins and minerals, meaning your body can absorb them more easily. On top of that, fermented foods develop a rich, complex flavor you just can’t get any other way. So while you’re keeping your harvest alive in jars, you’re also giving your body a boost.
Tips for Safe Fermenting
Always start with clean jars and utensils.
Use the right ratio: about 2–3% salt of the total weight of your vegetables + water.
Make sure all vegetables stay fully submerged in brine to avoid mold.
Store in a cool, dark place once fermentation has reached your preferred taste.
If it smells bad (not just sour) or develops strange colors, don’t eat it.